Saptak's Blog Posts
Creating Custom Whoosh Plugin
Posted: 2020-04-19T13:16:52+05:30Recently, while trying to work on a query parser feature in Weblate, I came across this search engine library called Whoosh. It provides certain nice features like indexing of text, parsing of search queries, scoring algorithms, etc. One good thing about this library is most of these features are customizable and extensible.
Now, the feature I was trying to implement is an exact search query. An exact search query would behave in a way such that the backend would search for an exact match of any query text provided to it instead of the normal substring search. Whoosh provides a plugin for regex, which can be accessed via whoosh.qparser.RegexPlugin(). So we can technically go about writing a regex to do the exact match. But a regex search will have worse performance than a simple string comparison.
So, one of the ways of doing a new kind of query parsing is creating a custom whoosh plugin. And that's what this blog is going to be about.
Simple Whoosh Plugin
In some cases, you will probably not need a complicated plugin, but just want to extend the feature of an existing plugin to match a different kind of query. For example, let's say you want to extend the ability of SingleQuotePlugin to parse queries wrapped in either single-quotes or double-quotes.
class QuotePlugin(whoosh.qparser.SingleQuotePlugin):
    """Single and double quotes to specify a term."""
    expr = r"(^|(?<=\W))['\"](?P<text>.*?)['\"](?=\s|\]|[)}]|$)"
In the above example, QuotePlugin extends the already existing SingleQuotePlugin class. It just overrides the expression to parse the query. The expression, mentioned in the variable expr is usually a regex expression with ?P<text> part denoting the TermQuery. A TermQuery is the final term/terms searched for in the database. So in the above regex, we say to parse any query such that the TermQuery is wrapped in between single-quotes or double-quotes.
Query Class
A query class is the class, whose instance the final parsed term will be. Unless otherwise mentioned, it's usually <Term>. So if we want our plugin to parse the query and show it as an instance of a custom class, we need to define a custom query class.
class Exact(whoosh.query.Term):
    """Class for queries with exact operator."""

    pass
So, as you can say, we can just have a simple class just extending whoosh.query.Term so that while checking the parsed terms, we can get is as an instance of Exact. That will help us differentiate the query from a normal Term instance.
Custom Whoosh Plugin
After writing the query class, we will need to write the custom plugin class.
class ExactPlugin(whoosh.qparser.TaggingPlugin):
    """Exact match plugin with quotes to specify an exact term."""

    class ExactNode(whoosh.qparser.syntax.TextNode):
        qclass = Exact

        def r(self):
            return "Exact %r" % self.text

    expr = r"\=(^|(?<=\W))(['\"]?)(?P<text>.*?)\2(?=\s|\]|[)}]|$)"
    nodetype = ExactNode
In the above example, unlike the simple case, we extend TaggingPlugin instead of any other pre-defined plugin. Most of the pre-defined plugins in whoosh also extend TaggingPlugin. So it is a good fit as a parent class.
Then, we create a ExactNode class. This we will assign to the node type for the custom plugin. A node type class basically defines the query class to be used in this custom plugin, along with various representations and properties of the parsed node. qclass will have the query class created before to denote the Exact instance to the final parsed term.
Apart from that, we have the expr which contains the regex just like in the simple example to parse the query term.
Finally...
After creating the custom plugin, you can:
- add this plugin to the list of plugins defined in the whoosh query parser class
- use the query class to make an
isinstance()check when making database queries - check for the node type in the different nodes used by the parser
Ticket Ordering or Positioning (back-end)
Posted: 2017-06-21T13:41:00+05:30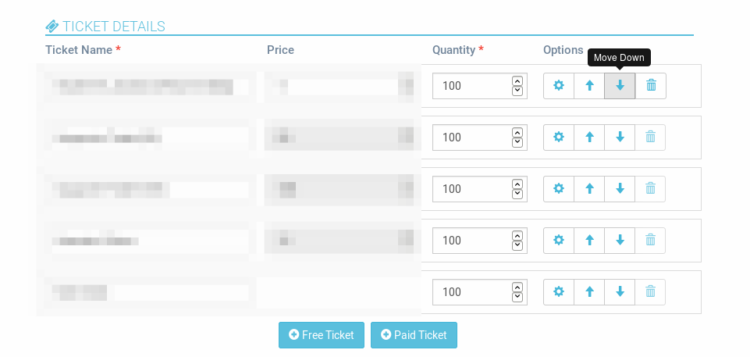
One of the many feature requests that we got for our open event organizer server or the eventyay website is ticket ordering. The event organizers wanted to show the tickets in a particular order in the website and wanted to control the ordering of the ticket. This was a common request by many and also an important enhancement. There were two main things to deal with when ticket ordering was concerned. Firstly, how do we store the position of the ticket in the set of tickets. Secondly, we needed to give an UI in the event creation/edit wizard to control the order or position of a ticket. In this blog, I will talk about how we store the position of the tickets in the backend and use it to show in our public page of the event.
So, as you can expect of course we need to store the position information of the ticket in the database. We already have a table for tickets in our database. All we needed to do was to add a column 'position' to that table. The table would still be in a 3NF normal form since each individual ticket for a particular event can have only one position value. Since we use Flask-Migrate, all we need to do is migrate and upgrade to add this new column.
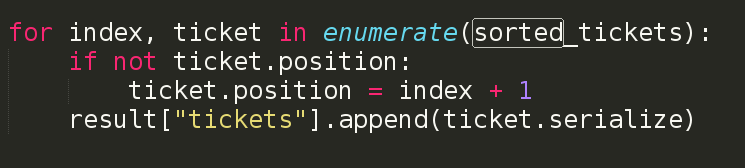
After this was done, we could ensure that once the tickets with their proper position value was submitted from the front-end, we can store the information in the database. So, we needed to store the ticket position also received from the form along with all other ticket details. Now how we get the position value for a particular ticket in front-end will be discussed in the second blog. As of now, we assume, we have a database with position values assigned to tickets and we need to show them in ascending order in the event page.

So, in other words, what we needed to do was to sort the array of tickets associated with the event object in ascending order of their position attribute. The
sorted function and lambda function of python came to the rescue. All we needed was to use the sorted function with a lambda function to determine the key for sorting. So the final code for sorting would look something like this:sorted_tickets = sorted(event.tickets, key=lambda x: x.position)
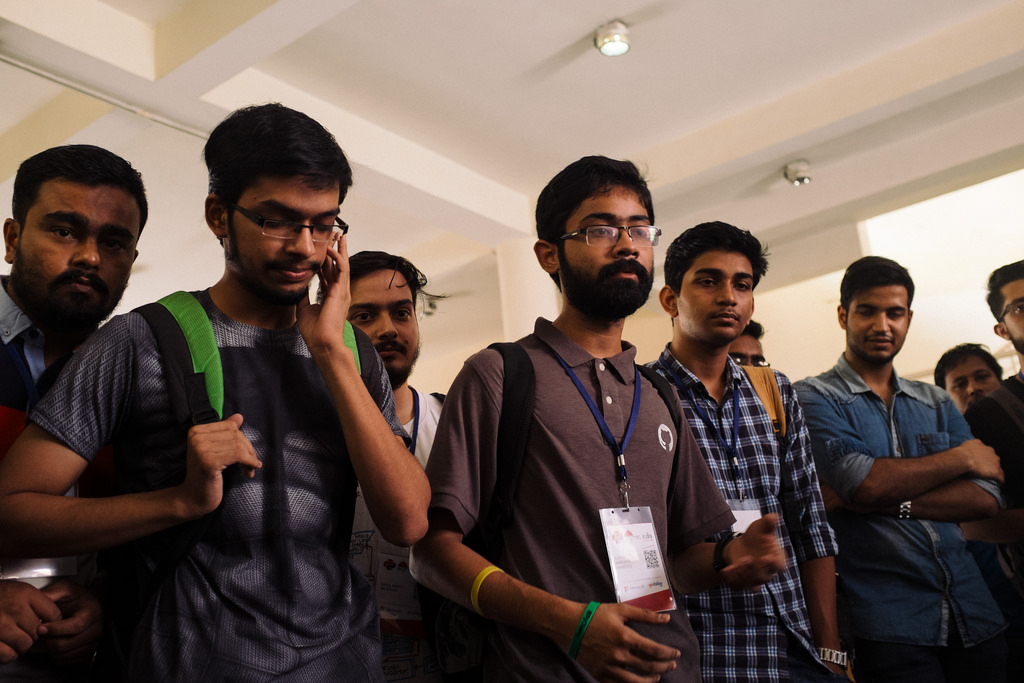
PyCon India 2016 : A weekend to remember
Posted: 2016-10-05T01:29:00+05:30
PyCon India is one of the best experiences I have had in recent past. PyCon India this year was held in New Delhi from 23rd September to 25th September, 2016. Three days filled with learning, interaction, meeting like minded people; couldn't have asked for anything more. The entire was one of python and development and I loved it.
Day 1 - Devsprint

Day 2 - Volunteering Experience
Day 3 - Last Day
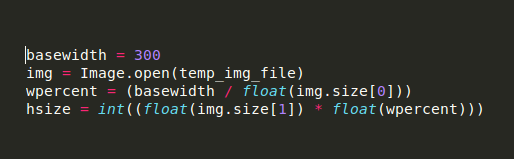
Resizing Uploaded Image (Python)
Posted: 2016-09-29T18:07:00+05:30
While we make websites where we need to upload images such as in event organizing server, the image for the event needs to be shown in various different sizes in different pages. But an image with high resolution might be an overkill for using at a place where we just need it to be shown as a thumbnail. So what most CMS websites do is re-size the image uploaded and store a smaller image as thumbnail. So how do we do that? Let's find out.